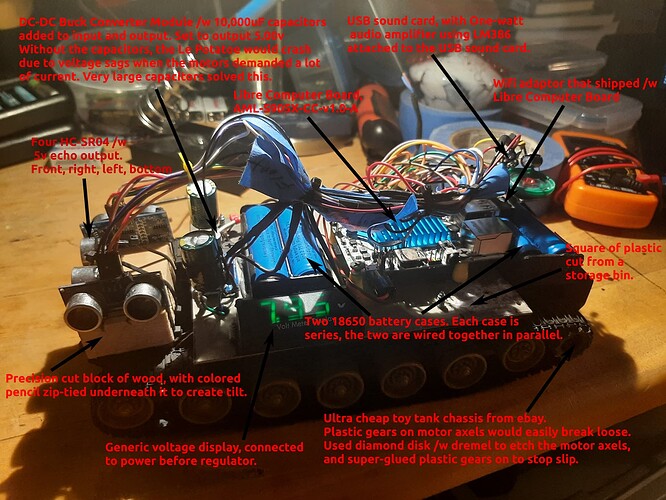
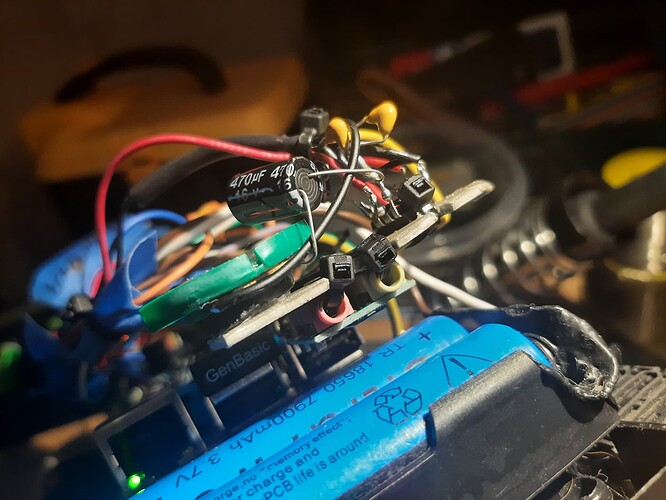
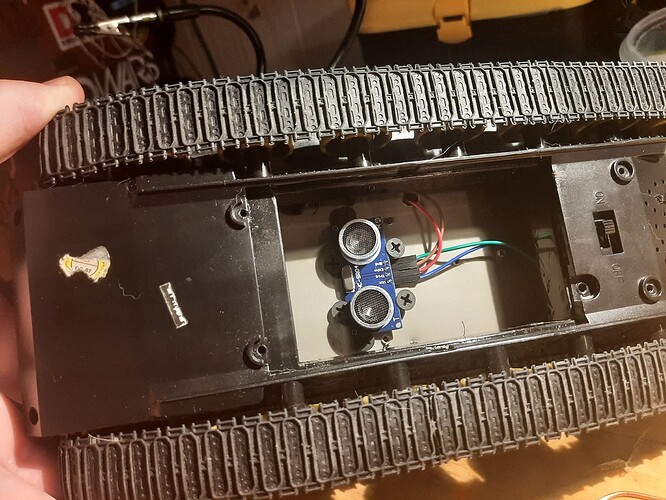
Hi, my daughter and I have been working on a tank bot thingy. It uses the Le Potato for a computer. Thought I’d share some pictures and links to various parts I’ve used.
Videos:
A little bit about this tank bot. It uses the official Raspbian image (headless) for the Le Potato (AML-S905X-CC-V1.0-A). When the computer boots up, a systemd service starts a python script that reads the sensors and controls the motors. The script has two primary functions. A direction decider function, and a “forward” function. The direction decider turns the bot a tiny bit in the direction perceived to be most clear. It turns over and over until some conditions are satisfied. Then, control is handed to the forward function which drives forward until some other conditions are no longer met. Then it repeats. With some cool sound effects scattered throughout.
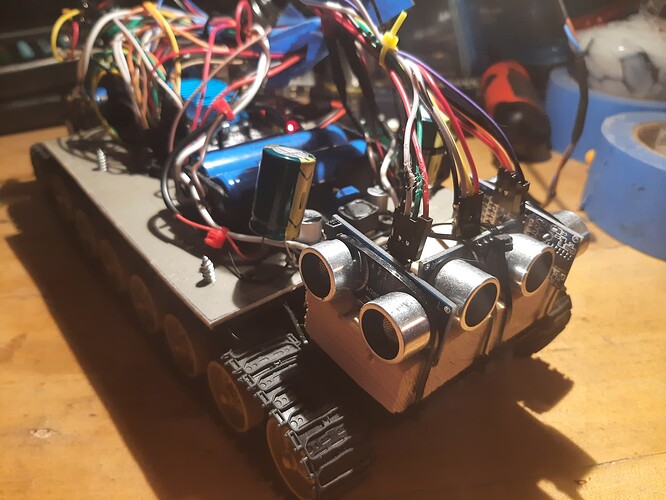
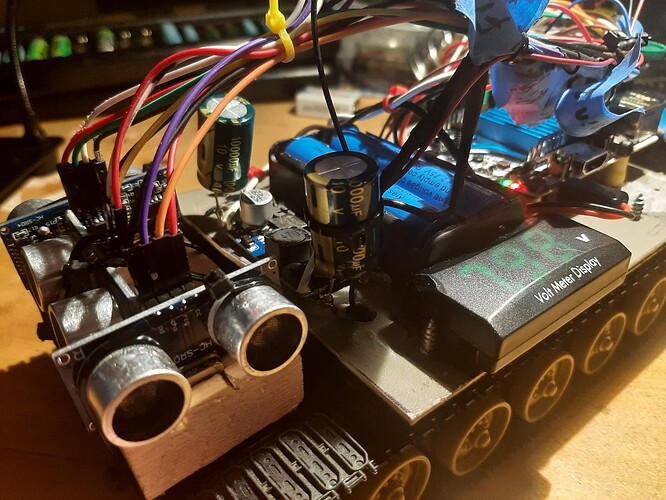
The sensor on the bottom is used to detect tilt. Using a sound based range finder for this has substantial benefits, but some drawbacks. The benefits: these things are cheap and easy to use, and they are not subject to inertia problems. The distance from the bottom of the tank to the floor is pretty constant, so any amount of tilt / incline / unintended climbing can be detected. Cons: Does not work on carpet or other sound-absorbing material. Also, not extremely precise so you need to take the lowest measurement out of several measurements, and compare that to a threshold distance.
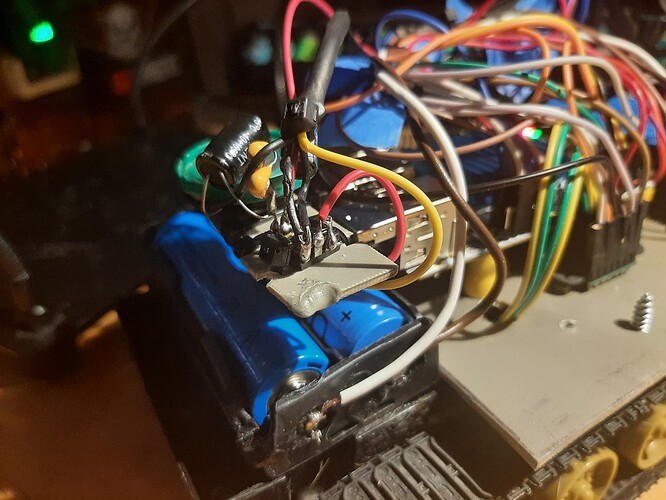
The plastic battery cases came with very thin wires already attached. I replaced these with a little thicker wire. I soldered the wires to the little rivets on the case. This was really difficult because the plastic that the rivet is attached to would deform due to the heat. I used alligator clips to compress the battery spring while I soldered. It was still difficult.
The USB sound card was one I had laying around. I took the plastic shell off of it, soldered wires directly onto the metal that goes into the speaker port, and then used zip ties through the speaker/mic ports to secure a small piece of plastic to the USB Sound card. The plastic was to be used as a platform for a tiny sound amplifier and speaker. I zip-tied a LM386 to that, and glued a speaker from an old toy. I added 2uF worth of capacitors to the output (as opposed to 1uF as the instructions say) to eliminate noise. I used a 470uF capacitor inline with the speaker (I didn’t have a 1,000uF capacitor as the instructions called for). I kind of expected it to be louder than it is, but I’m fine with it. The toy that the speaker came out of was far louder.
The first big problem I had were the little plastic gears that were on the motor axles, they would slip. The axle would spin freely while the gear wouldn’t turn. Using a Dremel with a diamond disk, I cut notches all over the axle to provide glue something to hold onto, and glued the gears onto the axles.
As soon as the axle problems were solved, power problems manifested. I could see huge voltage sags using my oscilloscope whenever both motors would go from a stop to full forwards. Also going from full forwards to a full reverse, or full reverse to full forwards. Programming partially solved this, by including a 0.1 second “stop” between transitioning from forwards to reverse. But this wasn’t enough. Originally, I had just two 18650 batteries in series. I thought I’d spread the load across more batteries, so I added another two batteries. This improved things but there were still problems. I added some 470uF capacitors to the input & output of the buck converter and saw a lot of improvement but I could still see voltage sags via the oscilloscope. The power on the output side would drop below 4v and the computer would crash. So, I ordered some pretty large capacitors and added those, and this entirely resolved all voltage problems. The capacitor on the power input side of the buck converter would slow the voltage change enough for the buck converter to respond, and enough for the batteries to respond, while also providing extra power during high demand. The output capacitor also supplies the extra power that the motors demand. This resulted in a rock-solid unwavering 5v output to the computer and motors.
I worked out the HD-SR04 sonic range finder wiring & programming here:
Capacitors:
DC-DC adjustable buck converter (these things are amazing): Converter Step Input Voltage - Temu
Le Potato (Libre Computer Board): https://libre.computer/products/aml-s905x-cc/
Audio Amplifer circuit (no USB Sound card here): How to make a simple 1 watt audio amplifier (LM386 based) | Afrotechmods - Fun with electronics!
Dual motor driver: Pololu - DRV8835 Dual Motor Driver Carrier
Offline text-to-speech engine, python based. So the robot can pause and occasionally say cool things via it’s 1-watt sound system: GitHub - nateshmbhat/pyttsx3: Offline Text To Speech synthesis for python
